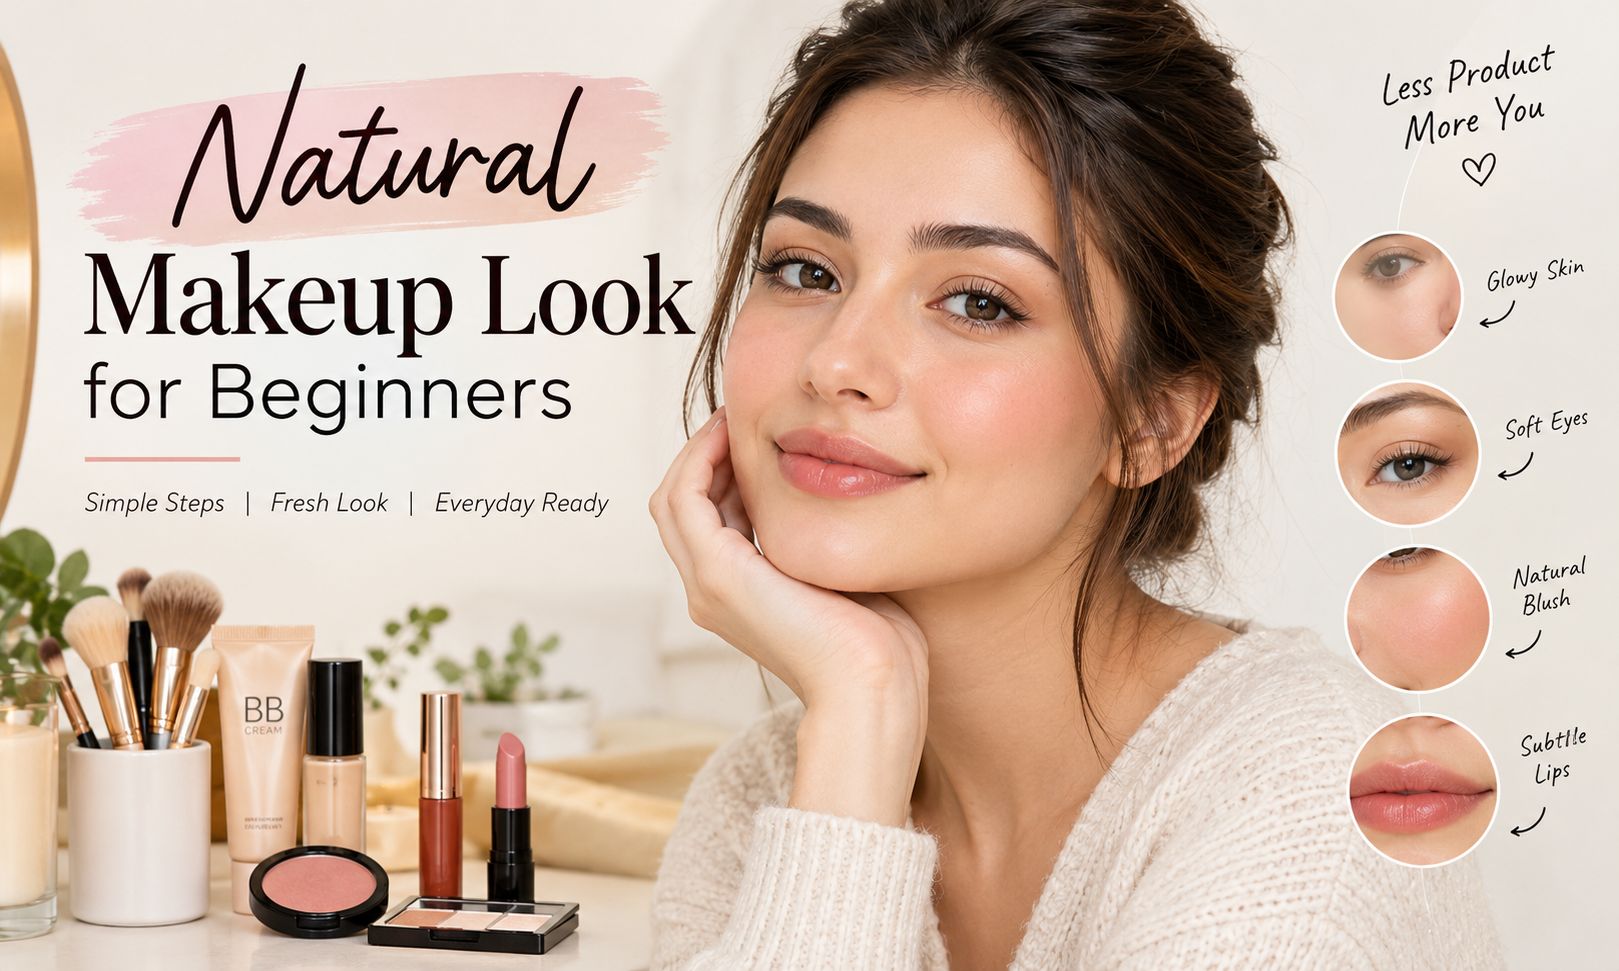
Quick answer: A natural makeup look for beginners takes five steps: moisturiser and SPF, a light base like tinted moisturiser, a little concealer where needed, cream blush on the cheeks, then brows, mascara and a lip colour close to your own. Use thin layers, blend with fingers or a damp sponge, and stop before it feels like a lot.
Key takeaways
- Six products are enough: tinted base, concealer, cream blush, brow gel, mascara and a tinted lip.
- Skincare comes first. Makeup looks better on moisturised skin that’s wearing SPF.
- Light layers beat heavy coverage. You can always add a second thin layer, but you can’t take product off.
- Cream and liquid formulas look more like skin than powder does.
- The whole routine can take about ten minutes once you’ve done it a few times.
Natural makeup has a funny reputation. Everyone says it’s the easy option, and then you try it and wonder why you look either unfinished or oddly shiny. The truth is that a natural look relies on restraint, and restraint is a skill. It’s quicker to learn than a full glam, though, and it’s much more forgiving of wobbly hands.
Here’s the natural makeup look for beginners I’d give a friend who’d never held a blusher brush. It uses very little product, no special techniques and nothing you need to practise for weeks.
What “natural” actually means
A natural makeup look doesn’t mean wearing nothing. It means makeup that looks like your skin on a good day: even, a bit fresh, with some colour in your cheeks, lashes that look defined and lips that look like your lips, only healthier.
The easiest way to think about it is “tweak, don’t cover.” You aren’t hiding freckles or changing the shape of your face. You’re softening redness where it bothers you, brightening shadows under the eyes, and adding a little colour back.
That’s why the look suits beginners. If a blend isn’t perfect, it just looks like skin.
The starter kit
You don’t need much. Here’s what I’d buy first, in the order I’d buy it.
- A tinted moisturiser, BB cream or skin tint. This is your base. It gives light coverage that lets skin show through.
- A concealer. A creamy, medium-coverage one is easier to blend than a thick one.
- A cream blush. Cream melts into skin and doesn’t sit on top.
- A clear or tinted brow gel. It tidies hairs without drawing a shape.
- A mascara. Look for one that adds length and separation without clumping. A flexible, slightly curved wand helps.
- A tinted balm or a nude-pink lipstick. Something close to your natural lip colour.
For tools, two are enough: a damp makeup sponge and a small fluffy brush. Clean fingers also work well, because the warmth of your skin helps cream products blend.
Step 1: Prep the skin
Spend about two minutes here. It’s the step beginners skip and the one that changes how everything else looks.
Wash your face and apply a light moisturiser. Give it a minute or two to sink in so your base doesn’t slide. Then add sunscreen. This isn’t a beauty-only tip. The NHS recommends choosing a sunscreen of at least SPF 30 with a UVA rating of four stars or more, and says to apply it generously, since putting it on too thinly weakens the protection. Many skin tints contain SPF, but their coverage is usually thin, so a proper sunscreen underneath is a safer choice for daytime.
If your skin gets oily by lunchtime, a small amount of primer on your T-zone can help. If it’s dry, skip it, and press in a little extra moisturiser.
Patch test anything new. If you’re trying a product for the first time, dab a small amount on your inner arm or behind your ear and wait a day. If your skin has a condition like eczema, rosacea or persistent acne, ask a dermatologist or pharmacist what’s suitable before you start.
Step 2: Even out the base
Squeeze a pea-sized amount of tinted moisturiser onto the back of your hand. Dot it on your forehead, cheeks, nose and chin, then blend outwards with a damp sponge or clean fingers. Press and roll rather than rub. Rubbing drags the product around and leaves streaks.
Keep it thinnest at the edges of your face and around the hairline. If you see a line, tap it away with a clean finger.
Choosing your shade
Match your base to your neck and chest, not your cheek. Test three possible shades in a line along your jaw and look at them in daylight. The right one disappears. If you’re between shades, pick the lighter one for winter and the deeper one for summer, or mix them.
Beginners often make the mistake of going for full coverage foundation, thinking it will give a smooth finish. It tends to look heavier and sit in lines. A light base, with concealer where you need it, almost always looks better.
Step 3: Conceal only where you need it
Look in the mirror and decide what actually bothers you. For most people it’s the inner corners of the eyes, the sides of the nose, a blemish or two. Everything else can stay.
Dot concealer on those spots with a fingertip or a small brush and tap it in. Don’t swipe. For under-eye darkness, draw a small triangle pointing down from the inner corner, then blend the edges.
If you have a spot, dab concealer on the centre and tap outwards so the edges fade into your skin. Set small areas with a pinch of translucent powder if they crease, but leave the rest of your face unpowdered.
Step 4: Add colour and glow
This step does most of the work. A little cheek colour makes your face look awake, and it’s the quickest way to look like you slept well.
Take a cream blush, dab a small amount on the apples of your cheeks and blend upward toward your temples with your fingers or a damp sponge. Tapping, not wiping, is the technique. Start with less than you think you need.
Which shade?
- Fair skin: soft pink or peach.
- Medium or olive skin: warm rose, coral or apricot.
- Tan or deep skin: berry, deep rose or terracotta.
A good guide is to pinch your cheek and look at the colour that appears. Choose a blush in that family.
If you like a glow, press a little cream highlighter or a balm onto the high point of your cheekbones. Keep it subtle. You want a healthy sheen, not a visible stripe.
Step 5: Brows, lashes and lips
Brows
Brush your brows upward with a clear or tinted gel. That alone tidies them. If they’re sparse in places, use light, feathery strokes with a brow pencil or powder in a shade slightly lighter than your hair, then brush through. Avoid hard outlines and a drawn-on tail.
Lashes
Curl your lashes if you like. It opens the eyes and takes five seconds. Then apply mascara, wiggling the wand at the roots and pulling through. One coat is enough for natural. Wipe the wand on a tissue first so you don’t get clumps.
Mascara needs replacing regularly. The FDA advises throwing it away two to four months after you buy it, and not adding water or saliva to a dried-out tube. Don’t share it with anyone, either.
Lips
Choose a tinted balm or a lipstick near your natural lip colour. Dab it on with your finger, then blot with a tissue. If you want it to last, press a little translucent powder through the tissue, or use a lip stain.
The five-minute natural makeup look for beginners
On busy mornings, cut it to this: moisturiser and SPF, a skin tint on the centre of the face only, cream blush, brow gel and mascara. Lips can be tinted balm in your bag. It takes five minutes and still makes a difference.
Natural makeup for different skin types
Oily skin
Use a lightweight, oil-free base and a gel or lightweight moisturiser. Set only the centre of your face with a small amount of powder, and keep cream blush for the cheeks. Blotting papers beat adding more powder through the day.
Dry skin
Add a hydrating primer or a drop of facial oil to your moisturiser. Choose a dewy skin tint and cream formulas. Skip powder on your cheeks.
Sensitive skin
Pick fragrance-free products and add them one at a time, so you can tell which one irritates you. Mineral skin tints can be gentler for some people, but check ingredients and patch test.
Deeper skin tones
Look for brands with a wide shade range and test in daylight. Concealer for dark circles often works best a shade deeper than your base with a warm or peach undertone, which helps cancel greyish tones. Pigmented blushes in berry and plum show up beautifully, and a sheer gold highlighter can look better than a silvery one.
Common beginner mistakes, and quick fixes
Using too much base. Start with half the amount you think you need. You can add more.
Not blending. Visible lines usually come from product that hasn’t been blended into the skin. Tap the edges with a clean finger or damp sponge.
Wrong shade. If your base looks grey or orange, it’s the wrong undertone. Swatch again in daylight.
Heavy powder. Too much powder dries the skin and shows texture. Use it only where you shine.
Skipping brows. You don’t need to fill them in, but brushing them up makes the whole face look more finished.
Wearing all your makeup in one go. If it feels like too much, wipe over your cheeks with a damp sponge. It lifts excess in seconds.
How to make it last
A little preparation helps. Let each layer settle before the next. Press, don’t drag. Carry a blush and lip tint to refresh through the day, and use a setting spray if your skin tends to break down makeup. If you don’t want to add anything else, blot oily areas with a tissue instead of piling on powder.
At night, take everything off before bed. A cleansing balm or micellar water, followed by your usual face wash, works well for most skin.
Your first week plan
- Day one: Try only the base and blush. Look at how little it takes.
- Day two: Add concealer where you need it and brow gel.
- Day three: Try mascara and a tinted lip.
- Day four onward: Put the whole routine together, timing yourself.
- After a week: Decide what to keep, what to drop, and what you’d like to try next, such as a soft eyeshadow.
If you enjoy this, you’ll find more simple guides on Glowing Magazine, from eyeshadow basics to lipstick shades.
Frequently asked questions
How do I do natural makeup if I’ve never worn it?
Start with moisturiser, SPF and a light skin tint, then add a touch of cream blush, brow gel and mascara. Use small amounts and blend with your fingers or a damp sponge. Add one new product at a time as you get comfortable.
Do I need foundation for a natural look?
No. Most people get a better natural finish with a tinted moisturiser, BB cream or skin tint plus concealer where needed. Full coverage foundation can look heavier and is harder to blend for beginners.
What order do I apply natural makeup?
Apply skincare and SPF first, then base, concealer, cream blush, brows, mascara and lips. Cream products go on before powder, and you only need powder where your skin gets shiny.
How do I stop my makeup looking cakey?
Use thinner layers, moisturise first and blend with a damp sponge. Choose cream or liquid formulas, and use powder only on oily areas. If it’s already cakey, press a clean damp sponge over your face.
What colours suit a natural look?
Choose shades close to your own skin, lips and cheeks. Peach, soft pink and rose work on fair to medium skin, coral and warm rose suit olive tones, and berry or terracotta looks good on deeper skin.