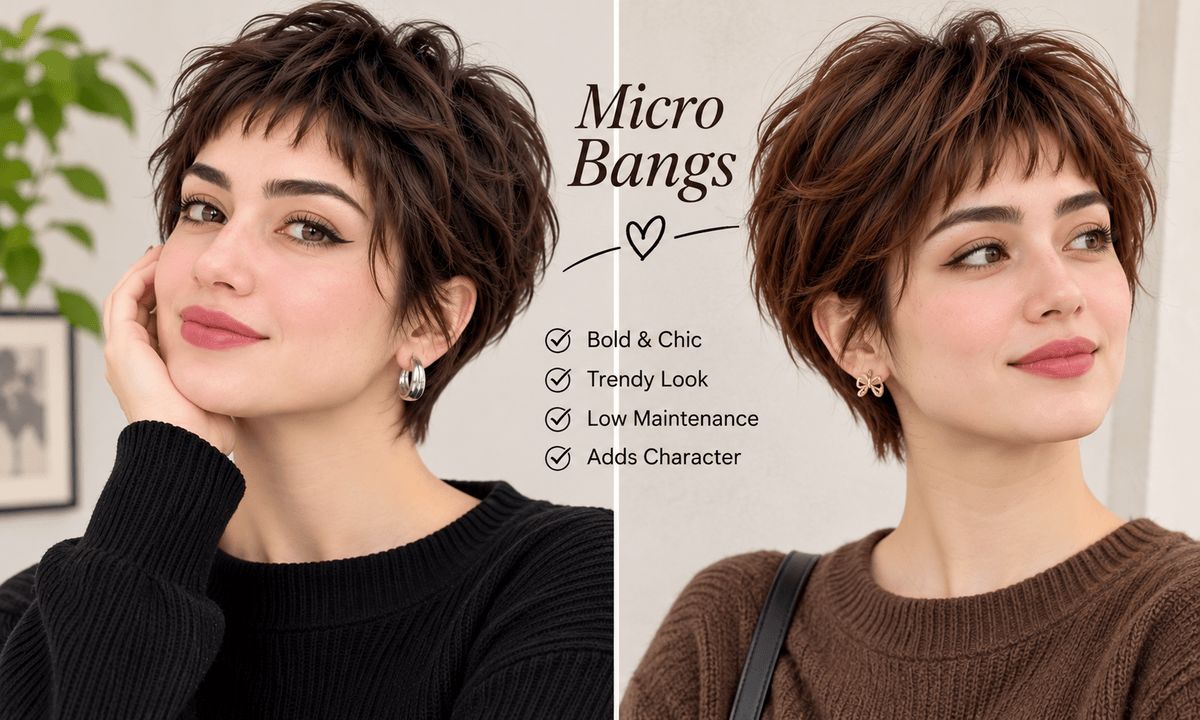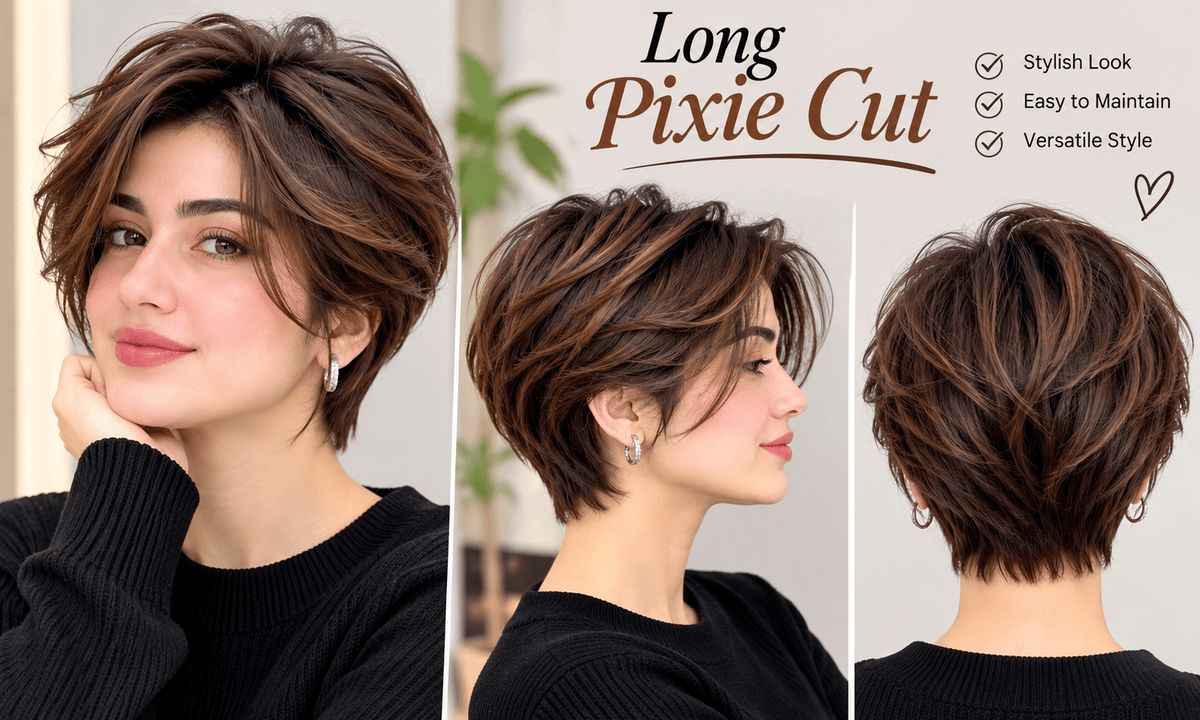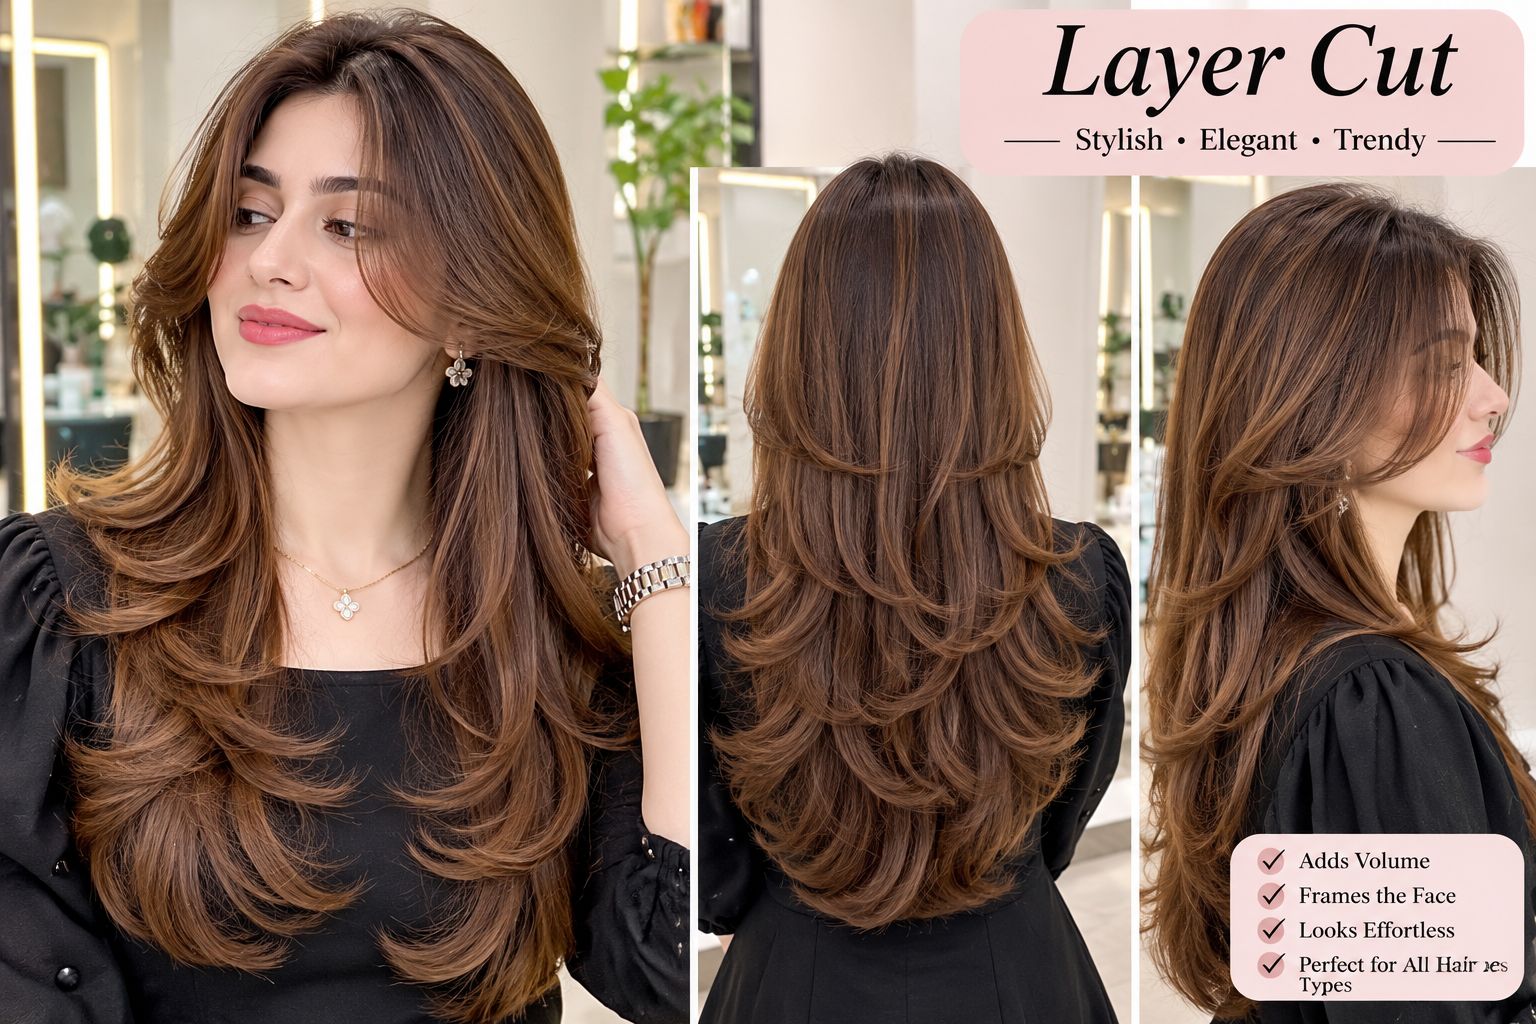
You scroll past a photo of a soft, bouncy haircut and think, “That’s the one.” Then you sit in the salon chair, point at your phone, and say, “Just give me layers.” Twenty minutes later you’re looking at something that doesn’t match the photo at all.
It happens constantly, and it isn’t usually the stylist’s fault. “Layers” covers a huge range of cuts, from barely-there movement to bold, choppy shapes.
This guide explains how a layer cut actually works, which version suits your hair type and face shape, and how to describe what you want. You’ll also find styling advice, maintenance timing, and the mistakes that quietly ruin an otherwise good cut.
What Is a Layer Cut, Exactly?
A layer cut is a haircut where hair is trimmed to different lengths across the head instead of one uniform length. Shorter sections sit on top or near the face, and longer sections fall underneath. The result is movement, shape, and less weight.
Think of it like a staircase. A one-length cut is a flat ramp: everything ends at the same line. A layered haircut has steps, and the size of each step decides how dramatic the final look is.
The Two Things That Define Every Layered Cut
Two choices shape the whole outcome: where the shortest layer starts and how big the length jump is between layers.
- Starting point: Shorter layers beginning near the crown add lift. Shorter layers starting at the chin or cheekbones frame the face. Layers starting low, near the ends, mostly just soften the bottom edge.
- Length jump: Small differences create a smooth, blended look. Big differences create visible texture and a choppier finish.
If you remember nothing else, remember this. When you describe a layer cut, you’re really describing these two things.
The Main Types of Layers (and What Each One Does)
Once you know the vocabulary, a salon conversation gets much easier.
Long Layers
Long layers are cut through the lengths and ends, usually starting around the collarbone or lower. They remove weight without sacrificing length, which makes them the safest starting point for anyone nervous about a big change. They add gentle movement and help long hair swing instead of hanging flat.
Short Layers
Short layers sit higher up, often starting near the crown or cheekbone, and create noticeable volume and texture. Think of the shaggy, feathered, or pixie-adjacent shapes. They’re a strong choice for hair that feels heavy or sits flat against the head, but they take more effort to style and grow out less gracefully.
Face-Framing Layers
These are shorter pieces cut around the face, typically beginning near the chin, cheekbone, or lips. They work as a soft frame and can be added to almost any length without changing the rest of your hair. If you want a refresh without committing to a full restyle, this is the low-risk option.
Graduated and Stacked Layers
Common in bobs, these build the layers toward the back so the shape curves inward. The look is neat and structured rather than wispy. It suits people who like a polished finish and have straight or lightly wavy hair.
Feathered and Butterfly-Style Layers
Feathered layers create light, wispy ends that flick or sweep away from the face. Butterfly-style cuts combine longer layers underneath with shorter, face-framing layers on top for a lot of bounce. Both depend on blow-drying to look their best, so they’re better for people who enjoy styling.
Which Layer Cut Suits Your Hair Type?
Face shape gets most of the attention online, but hair texture and density affect your result more. A cut that looks incredible on thick, wavy hair can look sparse and stringy on very fine hair.
Layered Haircut for Thin or Fine Hair
Fine hair needs care. Too many short layers can make the ends look see-through, because there isn’t enough density to hold them.
What usually works better is fewer, longer layers and a blunter perimeter (the outline of the hair) so the ends look full. Subtle face-framing pieces add shape without stealing volume from the length. Ask your stylist to keep the bottom line solid.
Layered Haircut for Thick Hair
Thick hair is where layers do the hardest work. Without them, the hair can balloon outward or feel like a heavy curtain. Layers remove bulk and let the hair fall closer to the head.
Longer layers through the mid-lengths work well, and internal layering, where the stylist removes weight from within the hair rather than at the surface, keeps the outer shape tidy. If you tend to get a triangular silhouette, this is worth discussing before the cut.
Layers for Straight Hair
Straight hair shows every line, so layers are very visible. That’s good news if you want definition, and bad news if the cutting is uneven. Softer, blended layers look natural, while sharper ones read as deliberate and edgy.
Layers for Wavy Hair
Wavy hair is the most forgiving. Layers help waves bounce and separate instead of stacking into a pyramid shape. Medium-to-long layers tend to flatter this texture almost universally.
Layers for Curly and Coily Hair
Curls need a different approach. Curly hair shrinks when it dries, so layers can end up much shorter than they looked wet. A stylist experienced with curls will often cut dry or in sections and take extra care not to over-layer, since too many short layers can leave curls stuck in an awkward in-between stage.
Look for a stylist who can show you curly-hair work in their portfolio. It matters more than almost anything else.
Matching Layers to Your Face Shape
Treat face shape as a guide, not a rule. Plenty of people ignore it and look great. Still, it helps to know what the shapes do visually.
| Face Shape | Layers That Tend to Work |
| Oval | Almost anything; long, medium, or short layers |
| Round | Longer layers starting below the chin to add length |
| Square | Soft, wispy face-framing pieces to soften the jawline |
| Heart | Layers that add fullness around the chin and jaw |
| Long/Oblong | Medium layers with volume at the sides, not extra height |
The logic is simple. Layers add visual width where they sit. Put volume where you’d like more width, and keep it away from areas you’d like to look narrower.
How to Ask Your Stylist for Layers (Without Getting Something Else)
This is the part most guides skip, and it’s the part that saves you from disappointment.
Bring photos, but bring the right ones. Choose pictures of people whose hair texture and density are similar to yours. A photo of thick, wavy hair won’t translate to fine, straight hair, no matter how skilled the stylist.
Describe the result, not just the technique. Instead of “layers,” try: “I’d like to keep my length, remove some weight, and have a few pieces that frame my face around the cheekbone.”
Answer three questions before you go:
- How much length can you afford to lose?
- How much time will you spend styling each morning?
- Do you want the layers visible, or just felt as movement?
Mention your habits. If you air-dry and tie your hair back most days, say so. A cut that needs a round brush every morning will frustrate you.
Ask what it will look like when it’s untouched. A salon blow-dry makes everything look good. What matters is how the cut behaves on a Tuesday morning with no styling.
A Quick Real-Life Example
Imagine someone with shoulder-blade-length, dark, thick, straight hair. It feels heavy and tends to flare at the ends. She tells the stylist she wants movement but wants to keep the length for ponytails.
The stylist suggests long layers beginning near the collarbone, plus light internal thinning through the mid-lengths and soft face-framing near the cheekbones. She keeps her length, loses the bulk, and the ends stop flaring. That’s a much better brief than “just layers.”
Planning for Events
Layers look different depending on how you style them, so it’s smart to think about the occasion. If you’re getting a cut before a wedding, graduation, or big event, book it at least a week or two ahead so the shape settles. Freshly cut layers sometimes need a little time to fall naturally.
For formal styling, such as curls, pinned-up looks, or polished waves, long and medium layers are easier to work with than very short ones. If you’re preparing for a wedding, this bridal hair and makeup guide is a useful companion for thinking about how your cut will work with a styled look.
How to Style a Layer Cut at Home
A good cut does about 70 percent of the work, but styling decides how it looks day to day.
Step-by-Step Blow-Dry for Volume and Shape
- Towel-dry gently, pressing rather than rubbing.
- Apply a heat protectant and a light volumizing product at the roots if your hair is fine.
- Rough-dry until the hair is about 80 percent dry.
- Use a round brush on the face-framing sections, turning the ends away from the face or under, depending on the look you want.
- Finish with a cool blast of air to set the shape.
Air-Drying Layers
If you’re a no-heat person, comb through the hair with a wide-tooth comb after washing, scrunch in a lightweight styling cream, and leave it alone. Don’t keep touching it as it dries. Constant handling is what causes frizz.
Quick Tips That Make a Visible Difference
- Use a small amount of product. Too much weighs down fine layers.
- Style the face-framing pieces first, since they get seen most.
- Flip your head upside down for a quick root lift.
- A light texturizing spray helps layers separate on straight hair.
Common Layer Cut Mistakes to Avoid
Asking for too many layers on fine hair. It can leave ends looking thin and wispy rather than light and airy.
Cutting layers too short on curls. Because curls spring up as they dry, the shape may end far shorter than you expected.
Ignoring your daily routine. A high-maintenance cut won’t suit a low-maintenance lifestyle.
Trimming layers at home with a single ponytail. The popular “ponytail trim” trick can work on some hair, but it’s unpredictable, and uneven results are common. If you do it, cut small amounts and err on the side of leaving more length.
Skipping trims. Layers depend on shape. Once the ends grow out and become uneven, the cut starts to look shapeless.
How Often Should You Trim a Layered Haircut?
Most layered cuts hold their shape best with a trim every six to ten weeks. Shorter layers, such as a shag or a bob with graduated layers, usually need attention sooner because the shape is more precise. Longer layers can often stretch a little further.
Between visits, protect your ends. Use a heat protectant, limit very hot tools, and deep condition regularly. Healthy ends make layers look sharper and help the cut last longer.
Frequently Asked Questions
What is a layer cut in simple terms?
A layer cut is a haircut where sections of hair are cut to different lengths, creating movement, shape, and reduced weight instead of one uniform length.
Do layers make hair look thicker or thinner?
It depends on the hair. On thick hair, layers reduce bulk and make hair easier to manage. On fine hair, a few longer layers can add movement, but too many short layers may make the ends look thinner.
Which layered haircut is best for beginners?
Long layers or subtle face-framing layers are the safest first step. They change the shape without sacrificing much length, and they grow out easily if you decide you don’t like them.
Can you get a layered haircut with curly hair?
Yes. Curly hair often looks great with layers because they help curls separate and bounce. The key is going to a stylist experienced with curls and avoiding layers that are too short.
Are layers high-maintenance?
Not necessarily. Long layers are among the lowest-maintenance options. Shorter, more textured layers usually need more styling and more frequent trims.
Final Thoughts: Make the Cut Work for the Life You Actually Have
A great layer cut isn’t about copying a photo. It’s about matching length, texture, and shape to your hair and your routine. Know where you want the shortest layer to start, decide how visible you want the steps to be, and tell your stylist how you really style your hair.
Before your next appointment, save two or three photos of hair that looks like yours, write down your styling habits, and ask your stylist how the cut will behave without a blow-dry. That one conversation can mean the difference between a cut you tolerate and one you love